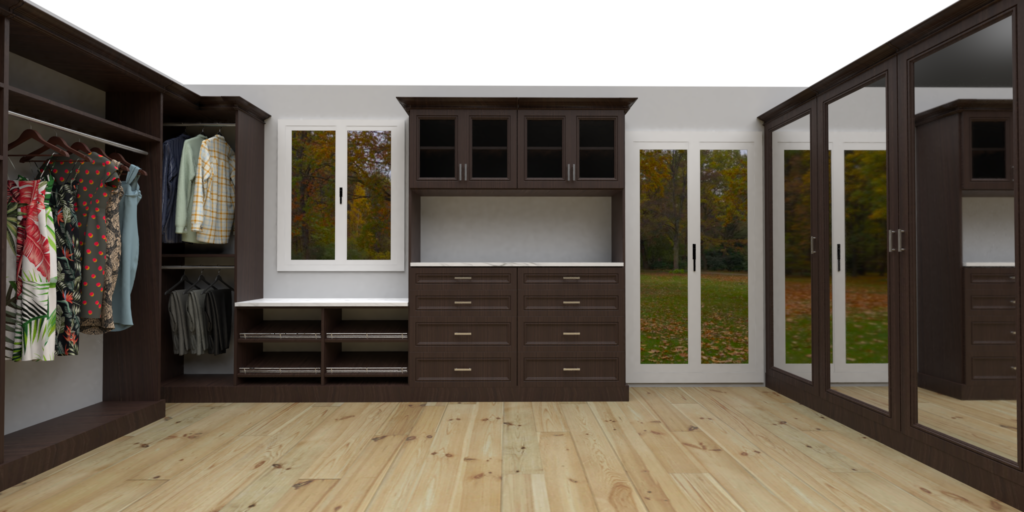
Creating Hi-Res Renders in ClosetPro
Using the High Resolution Render tool in ClosetPro, create real life renderings that will help your customer see what their closet is going to look like.
When on the Build View-All page, click on the upper right “View in 3D” button. On the right side, just below the Gears tool, you will find a camera icon.
The Camera tool is the key to creating your high resolution renders. It gives you two options:
- Snap Shot: This tool will give you a picture of the view you currently have on your screen.
- 360 View: This tool will give you a 360 interactive view in which you can spin around and look at the closet from any direction based on where you are standing at the time.
When you are happy with your view, you can then name and request the render. When performing a full render, software applications use a considerable amount of computer resources and slow your computer down – so much that you might not be able to use it while its rendering. With ClosetPro, all the renderings are performed on dedicated rendering servers. You will receive an email notification when the renders are complete, which can take over an hour for most renderings. After the renders are complete, you can enter back from the Build screen into the 3D view and click on the Camera slide-out tool.
You will now see a View button that allows you to view all your completed renders and notifies you if any are still processing. These renders are also provided in your customer’s proposal, so they will also have access to view these Hi Resolution 3D renderings.


