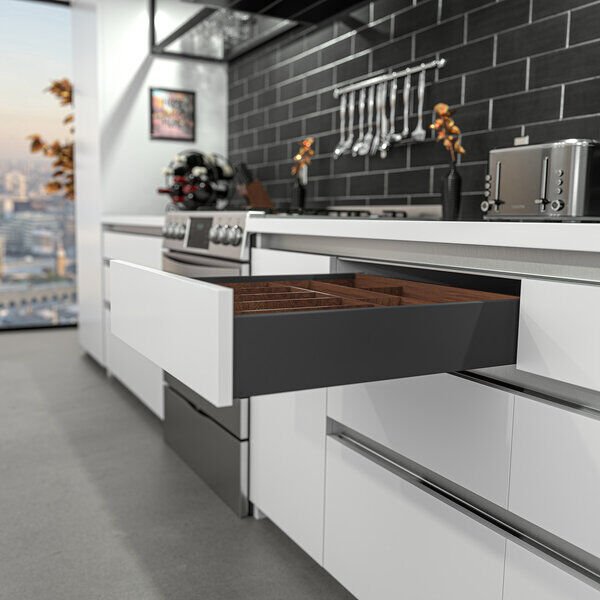
The Endura Drawer Box is a high-quality, cost effective drawer system. Available in two colors, Silk White and Matte Grey, Endura easily complements most color schemes and projects. Its 4 way adjustability makes installing a breeze.
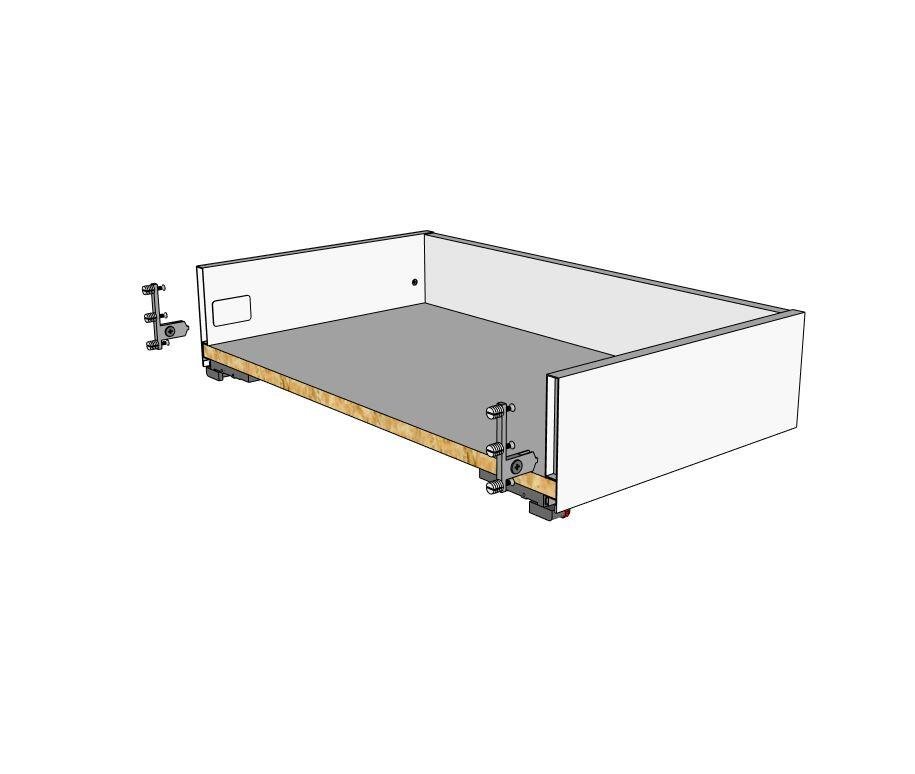
Endure Box - White
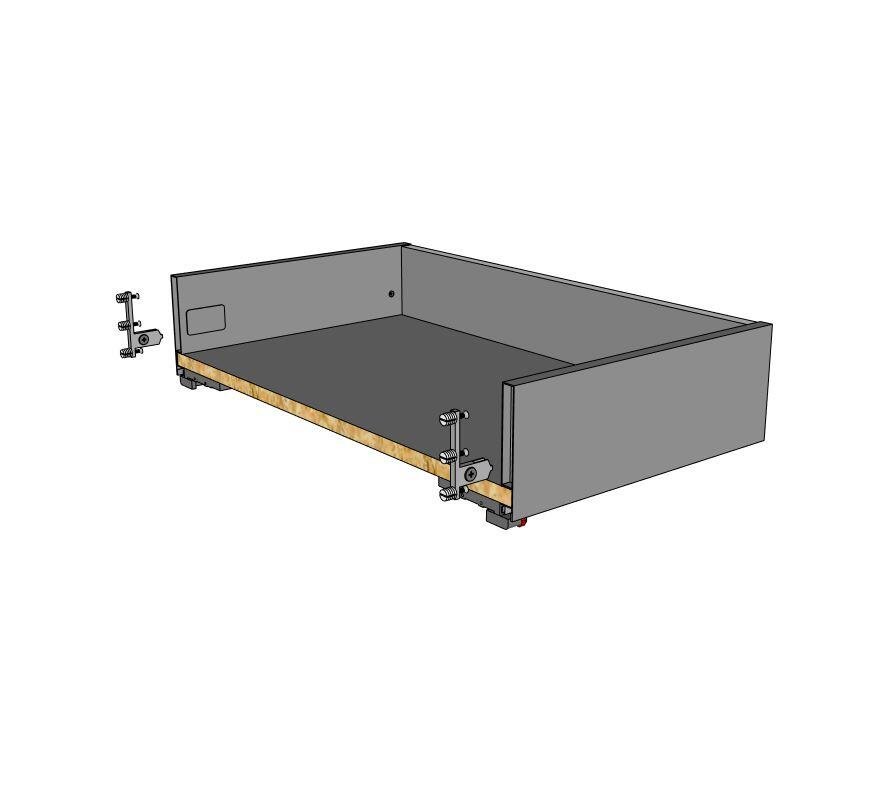
Endura Box - Grey
Drawer Box Components
Wood Pieces
Below is a list of all the wood pieces to assemble a melamine drawer box and the associated code on each label:
Drawer Face (DF)
Box Back (DBB)
Box Bottom (DBBM)
The Back and Bottom are made out of 5/8″ materials.
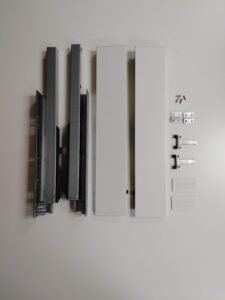
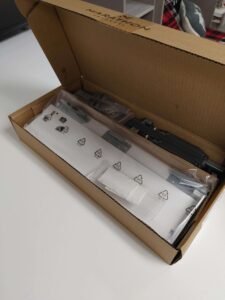
Endura Kit Includes
Below is a list of all the pieces that come in the Endura kit to assemble the drawer box and:
Undermount Soft Close Slides
Metal Drawer Sides
Cover Caps
Adapters for Drawer Face
Locking Clips to attach box to slides are built into the Metal Sides.
Other Hardware
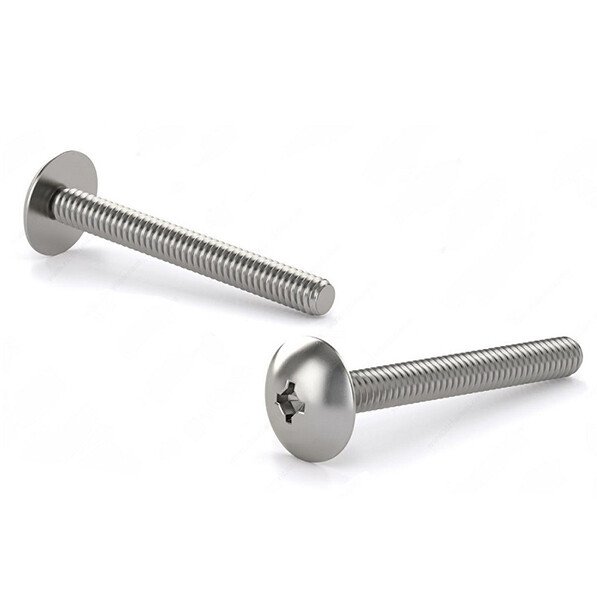
Handles We offer a wide variety of TAG Hardware handles and finishes.
Screws for Handles Each drawer requires two and they come with the all TAG Handles.
Pre-Construction Set-up
When constructing the drawers it is best, and more comfortable, to have a cleared work-bench with enough room to work and have all the required items for drawer construction. Once you have a work area you will need the following tools: • Cordless drill • Phillips screwdriver • #6 x 1/2” Flat head screws • All the drawer components previously listed
Drawer Box Construction
When assembling multiple drawer boxes it is easier and faster to do a few at the same time. If your work bench is big enough build 4 to 8 boxes at the same time by following the steps listed:
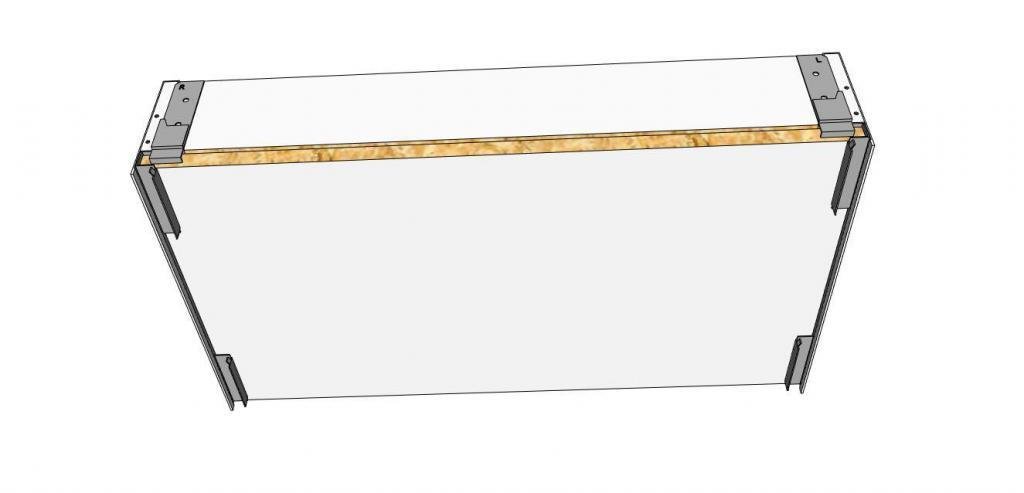
Step 1
On the work bench layout your Optimiz-R drawer sides keeping them in sets. Put a set of sides on end with the end that would attach to the drawer face down. Insert 5/8” melamine drawer bottoms into the groove on the drawer sides. Fasten the side to the bottom using a #6 – 1/2” screw.
Step 2
Now get the box back and hold it in position at the back of the drawer box. Position the drawer box in a way that is most comfortable for you to work. Again, using the #6 – 1/2” screws fasten it to the bracket on the Optimiz-R side.
Step 3
Place the drawer face on the workbench with it face down and the face adapter hole visible. There is a little 3mm hole below the adapter holes to indicate the bottom edge of the drawer face. Insert the adapter – which have screws already inserted – and tighten the screws to fasten the adapter to the drawer face.
NOTE: Reference 3mm hole indicates the bottom of the drawer face
Step 4
Take the face – with the adapters affixed – and insert the adapters into the box sides and it will click into place. Note that inside the box on the sides near the front there are adjustments cams. This is great when installing because it gives you the ability to adjust the drawer face to line up with other faces.
Step 5
Use the decorative covers to hide the box adjustment access holes.