The Melamine Drawer Box is a in-house custom box made by Sherwood Shelving™ using 3/4″ material (1/2″ for bottoms) and comes in a three different styles:
Melamine Box - Bottom Mount
Melamine Box - Side Mount
File Drawer
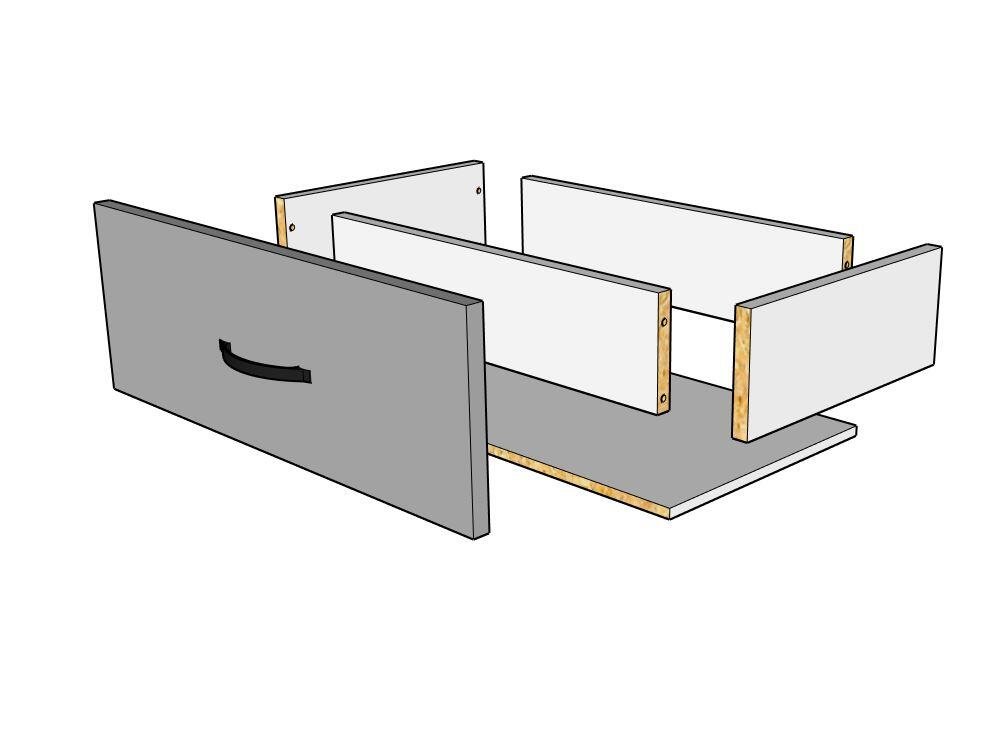
Drawer Box Components
Below is a list of all the wood pieces to assemble a melamine drawer box and the associated code on each label:
Drawer Face (DF)
Box Front (DBF)
Box Back (DBB)
Box Side Left (DBSL)
Box Side Right (DBSR)
Box Bottom (DBBM)
Below is a list of hardware options for a melamine drawer box:
Handles We offer a wide variety of TAG Hardware handles and finishes.
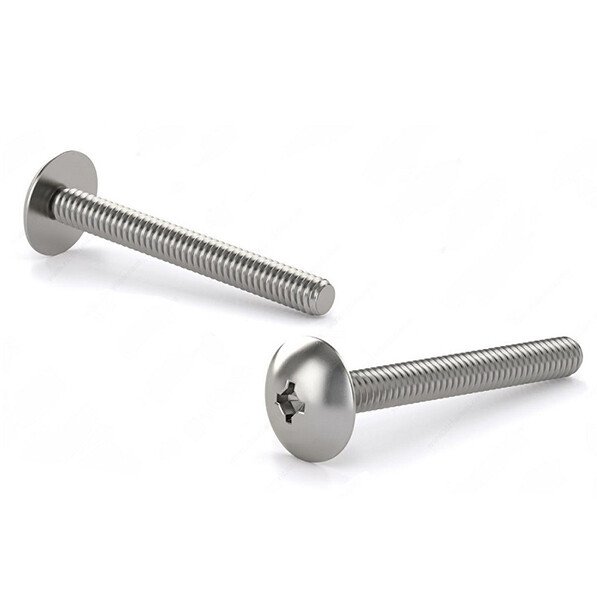
Screws for Handles Each drawer requires two 8-32 x 1- 3/4” Truss Combination screws for attaching the handles.
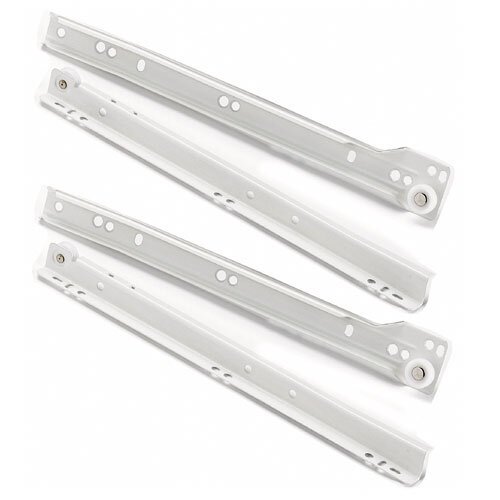
Bottom Mount Used for the “Melamine Box – Bottom Mount” style box.
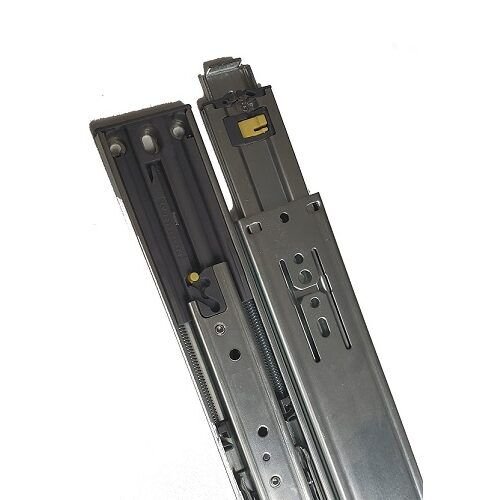
Side Mount Used for the “Melamine Box – Side Mount” style box. Soft Close and Regular options available.
Pre-Construction Set-up
When constructing the drawers it is best, and more comfortable, to have a cleared work-bench with enough room to work and have all the required items for drawer construction. Once you have a work area you will need the following tools: • Rubber mallet • Carpenter square • White wood glue • Cordless Drill with a Robertson #1 and #2 screw head attachment • #8 x 1-1/4” Pan head screws (for drawer face attachment) • #6 x 1-1/4” Flat head screws (for attaching drawer bottom to the drawer box) • Wood dowels 8 mm x 25 mm for attaching the box face, back, and sides. • All the drawer components previously listed.
Drawer Box Construction
When assembling multiple drawer boxes it is easier and faster to do a few at the same time. If your work bench is big enough build 4 to 8 boxes at the same time by following the steps listed:
Step 1
On the work bench layout half your box sides with the finished edge pointing to the left with the dowel holes facing up; place the other half of the box sides with the finished edge pointing to the right with the dowel holes facing up.
Step 2
Now get the box fronts and backs ready to install onto the box sides. On one end of each box front and back there is a black line off-set close to one of the faces. This black line must be towards the outside of the box once the back or front has been installed onto the box side. With the black line toward the outside of the box it will ensure a flush fit in relation to the box sides. Once you have determined which way the backs and fronts need to be installed, you can lean them up against the leg of the workbench.
Step 3
Squeeze a small drop of wood glue into each of the 4 dowel holes in the box sides. Also squeeze a small drop of glue into each of the dowel holes on the end of the box backs and box fronts that will be installed on the sides first.
CAUTION: Do not use too much glue as this could cause the particle board ends to blow out from the pressure of inserting the wood dowel.
Step 4
Insert the 8 mm x 25 mm wood dowels by hand into each of the box side dowel holes. Then using a rubber mallet or hammer carefully tap the dowel into the hole. Care must be taken to not hammer too hard and insert the dowel too fast or it could cause the particle board ends to blow out from the pressure.
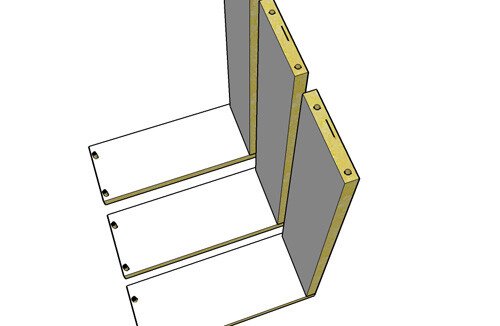
Step 5
Starting with the backs first, line out the raw or bottom edge of the back with the raw edge on the side. Now lower the back into the two dowels protruding from the sides.
REMINDER: You should only be installing backs to half of the sides that you have laid out.
Step 6
Once all the backs have been installed now install the box fronts. Again the black line must be facing to the outside of the box. This is easier since the outside face of the box fronts have all the pre-drilled knob, handle, and pilot holes.
Step 7
Now that all the box backs and fronts are installed on half of the box sides, insert a small drop of glue into each of the back and box front dowel holes. Once this is done the remaining box sides can be fitted into place.
Step 8
After all four sides (in this definition sides means 2 box sides, 1 box back, and 1 box front) of the box have now been constructed, place them carefully on the floor. If there was not enough room on the workbench to build all the boxes at the same time repeat steps 1 – 7 and build all the boxes to this point.
Step 9
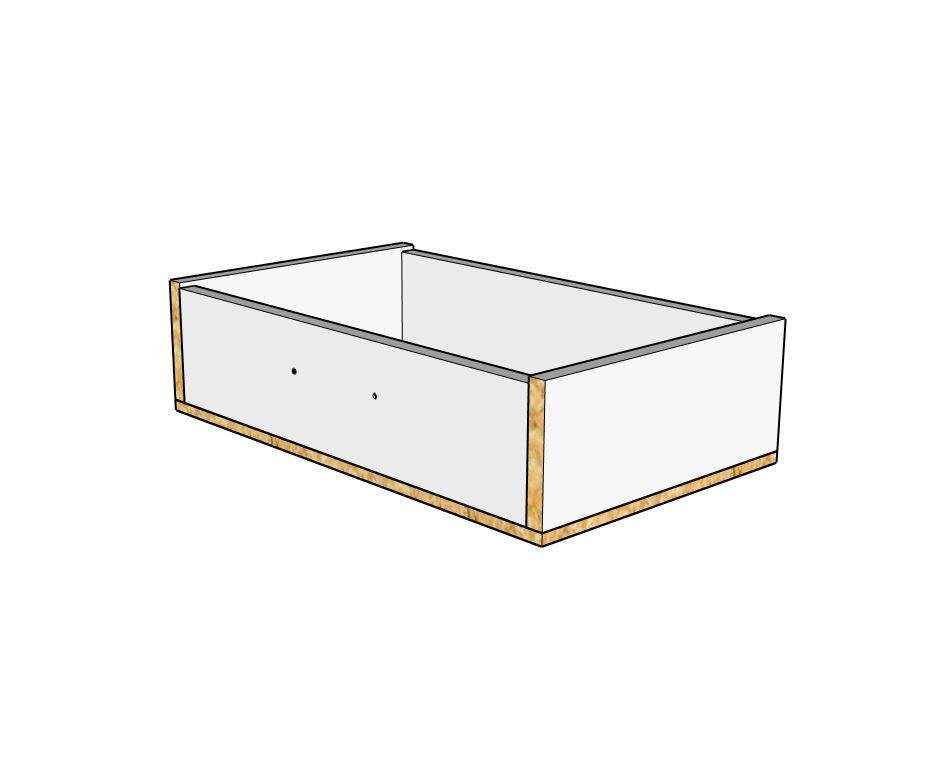
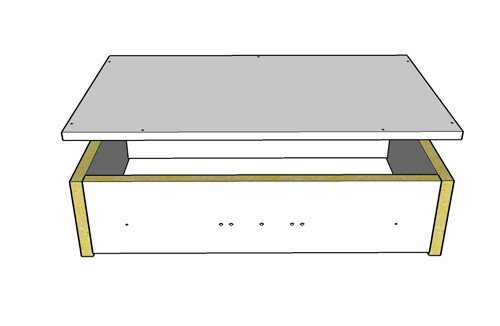
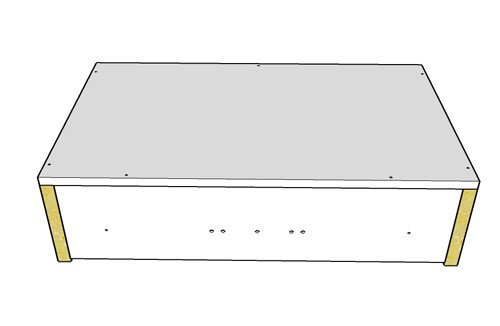
The next step is to install the bottom to the box. Place the box laying down on the bench with the unfinished edges facing up and with the front of the box towards you. Take a box bottom which will have more holes drilled along the front edge than the back edge. Place the bottom on the box as shown in the following diagram.
TIP: There are more pilot holes along front
Step 10
Line up the bottom with the front edge of the box sides. If the bottom is slightly smaller than the width of the box, center the bottom on the box, this is best accomplished by feel. DO NOT worry about lining up the back at this time, make sure the front is lined up with the front of the box sides and that the bottom is centered.
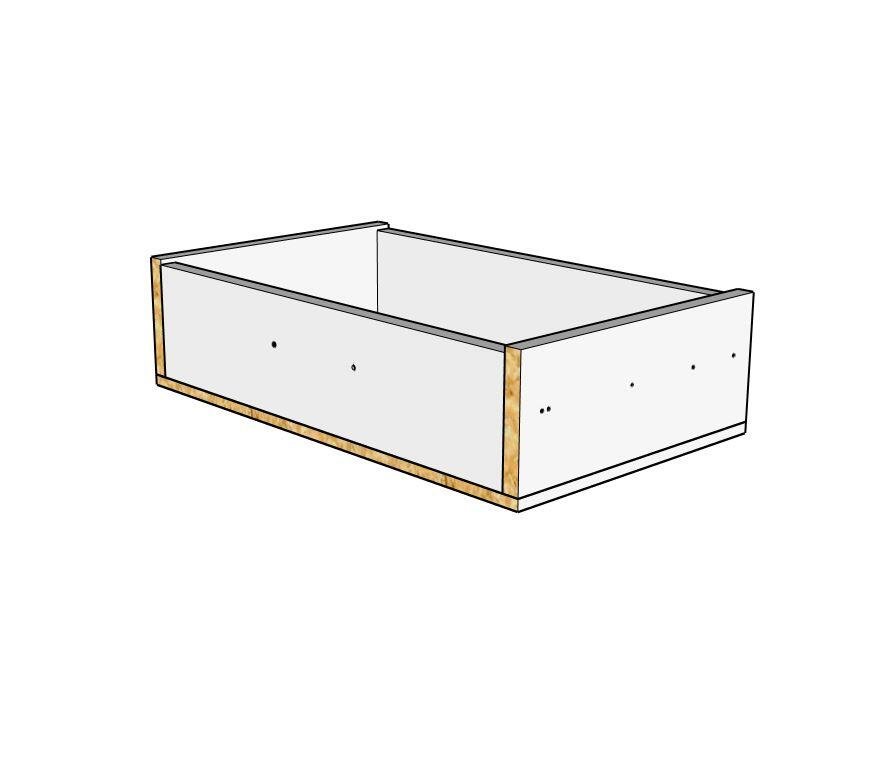
Step 11
Insert a #6 – 1-1/4” flat head screw into the two holes at the front of the box bottom. Carefully drill the screws into place making sure your bottom did not move in the process.
Step 12
Now center the back of the box with the bottom. Make sure the bottom has equal overlap all the way down the box side – this will ensure that the box will be square once you have finished. Using the same size screw drill it into place at the back of the box bottom.
TIP: Insert screw into back hole
Step 13
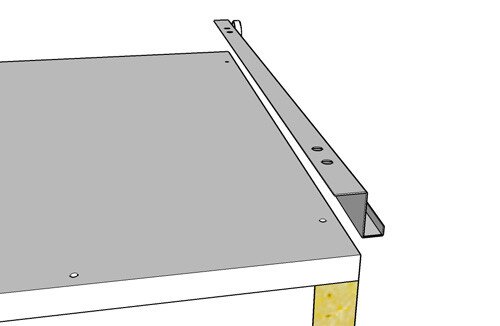
Install the box right and left drawer slides using the #6 – 1-1/4” flat head screw making sure the wheels are at the back of the box. Make sure to drill the screw in straight otherwise it could break through the side of the box. For side mount slides pilot holes are pre-drill on the drawer box sides so it is easy to line up the slides and using #8-3/4” pan head screws fasten the slide to the box.
Step 14
The drawer box is now complete. Install the drawer face on the job site to ensure proper face alignment with other faces. If you know the style of knob or handle being used on this particular job you can finish drilling out the holes in the box front at this time or you can wait and do this on the job site as well.