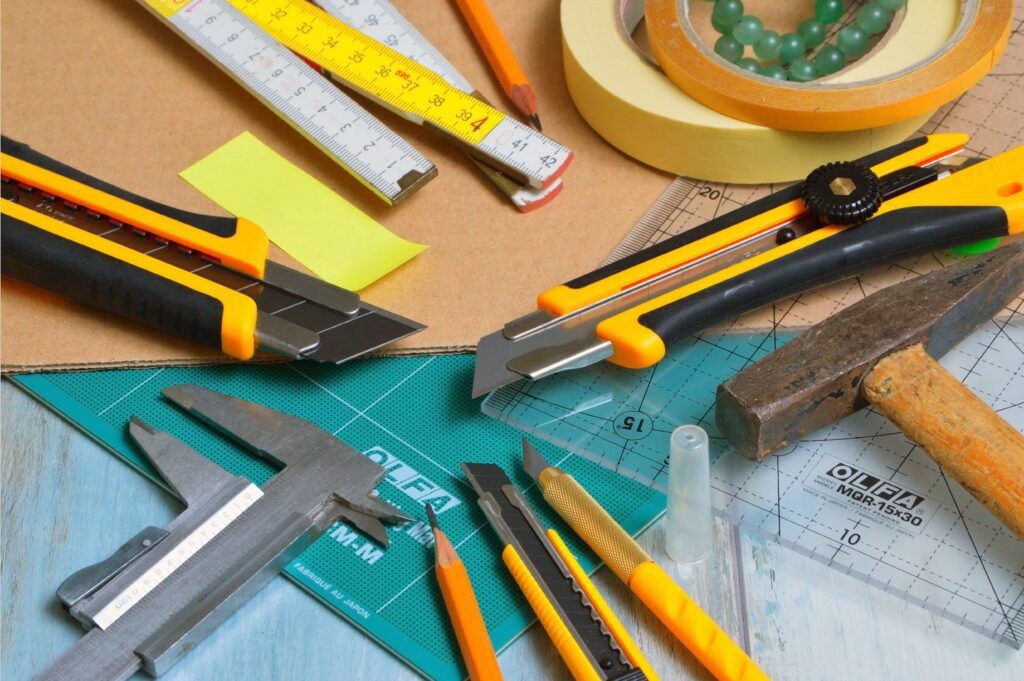
Sherwood Shelving™ recommends the following tools to install our product. It will help simplify and quicken the installation process. Using cheap tools will make installation difficult and more time consuming. All tools are easily accessible at your local hardware store or online.
List of basic installation tools
Stud Finder
Used to install the Wall Rail into the Studs. This is crucial to ensure that any suspended units don’t fall off the wall.
Level
A 2 foot, 4 foot, or laser level helps to make sure the units being installed at level, plumb, and square.
Drills
Used to fasten screws and hardware to the units or walls.
Screw Drivers
The most common screw driver needed is a #2 Philips to lock the Cam Fittings.
Drill Bits
Make sure to have the necessary bits #2 Robertson (Red), #1 Robertson (Green), #2 Philips, and 5mm Brad Drill Bit
Ratcheting Screwdriver
This is the best option for tightening the Cams Fittings on the bottom fixed shelf. An alternative would be a stubby screw driver.
Putty Knife
This universal tool is great to get between the wall and baseboard for removal with least amount of damage to the wall. Ideal sizes are a 6 or 8 inch.
Small Pry Bar
Helps in
Hammer
It’s a hammer, you never know when you need one. DON’T USE to install Cam Fittings.
Rubber Mallet
Used to install Cam Fittings.
Pliers
Needle-nose and side cut pliers used for various operations. Mostly for removal of pre-existing wire shelving from closet.
Oscillating Tool
Most common use for this tool is for cutting preexisting baseboard to fit in our floor mount units between baseboards.
23 Gauge Pin Nailer
Great tool for adding in Filler pieces between closet units and the wall. This gauge of nailer with headless nails leaves practically no trace.
Metal Saw
It can be a power tool or a hand saw but will be use to cut Wall Rail and/or Wardrobe Tube to fit the space needed.
Other Optional Tools
- Extension Cord
- 1″ Chisel
- 1/4″ Drill Bit
- Drill Jig VB
- Acetone – to remove any leftover wood glue


