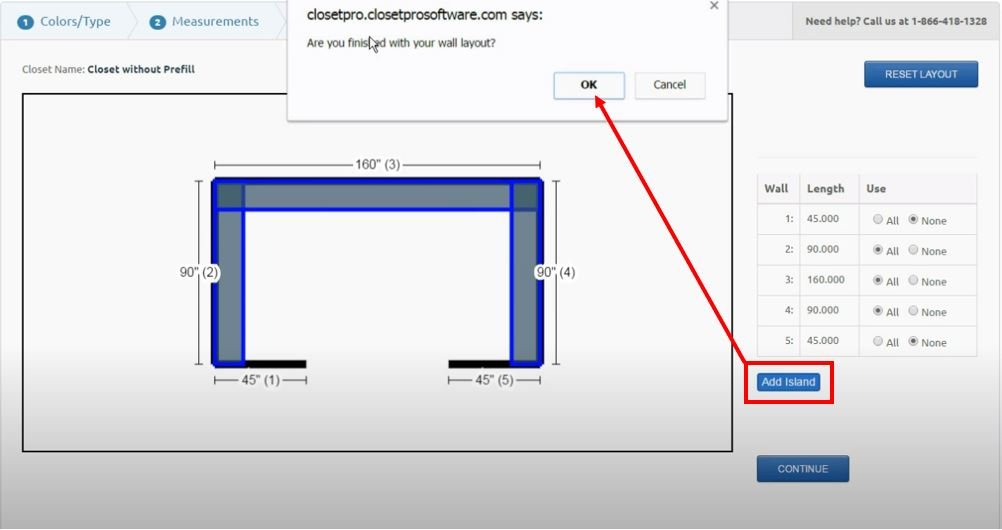
To add an Island, when using the layout tool and when pre-fill has been turned off, simply click on the Add Island button. You will be prompted with a message asking if you are finished with your wall layout, just click on OK.
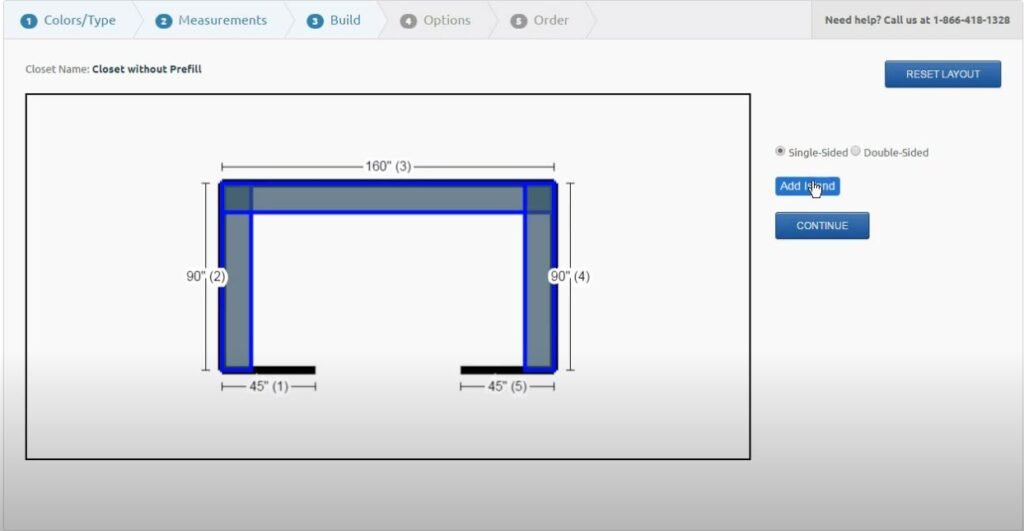
On the next screen you have an option for a single-sided or a double-sided island. If I click the single-sided the island is dropped in the center of the room.
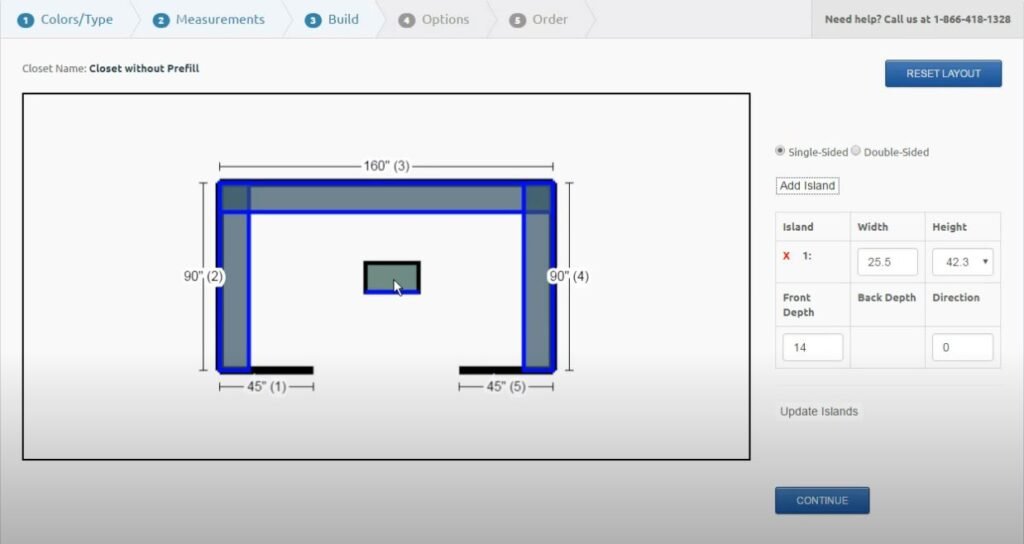
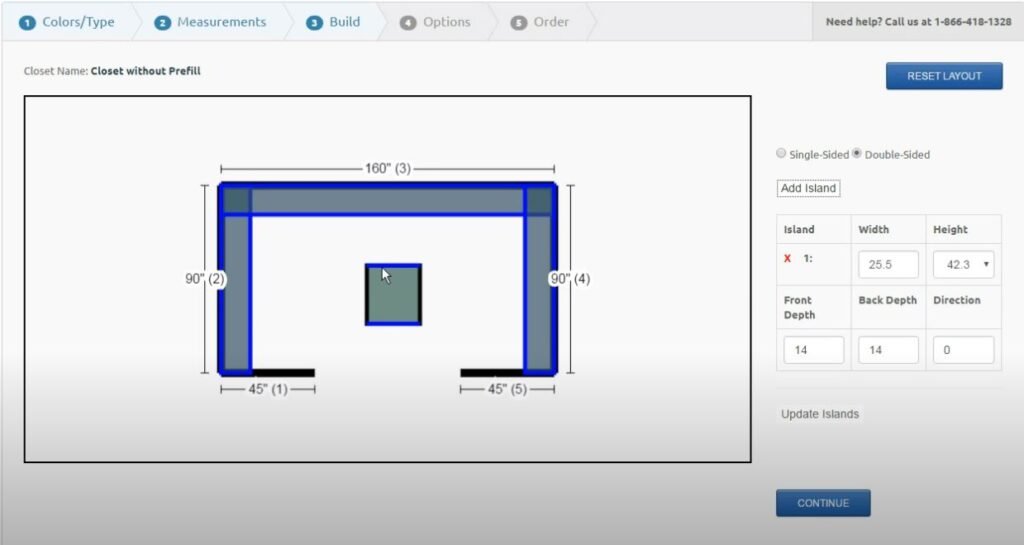
On the right hand side you can see that this is island #1 and it has a width of 25.5”, height of 42.3”, and a front depth of 14”. There is no back depth on a single-sided island but you can choose the direction.
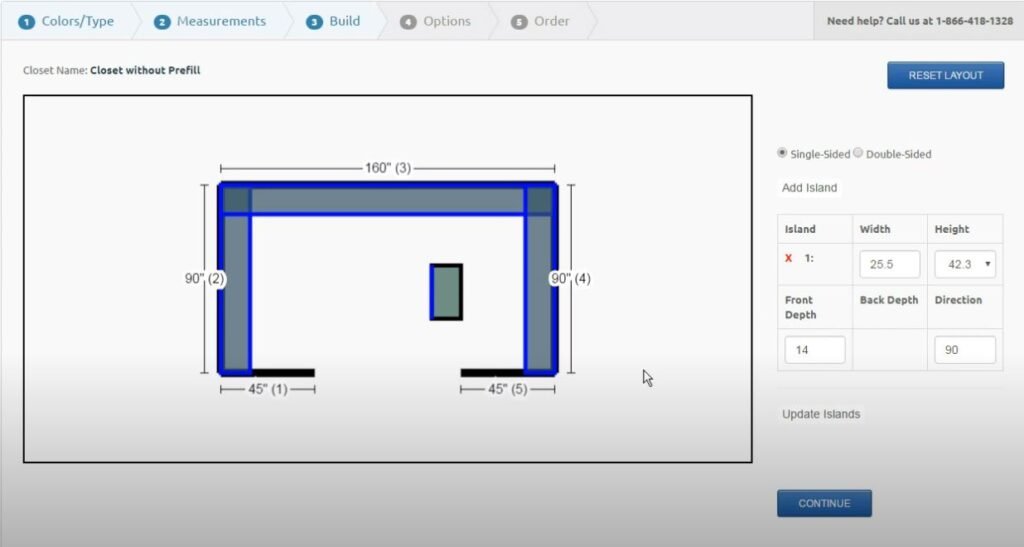
To move the island just click on it, move your mouse, and then click again. You can change the orientation of this island to turn it sideways just by changing to ninety degrees. Note that the blue line represents the front of the island.
If you want to remove the island just click on the red X next to the island number. If you want a double-sided island just click on that option and you can now see a blue line on both sides and both the front and back depths are available.
Once an island has been added you can add another island, either single or double, to create the island layout you want.
This Knowledge Base, and our website, is published for educational purposes only. You may want to consider consulting a licensed professional about your individual installation needs.
See our “Disclosure and Disclaimer” article for more.
Course Categories
Quisque velit nisi, pretium ut lacinia in, elementum id enim.