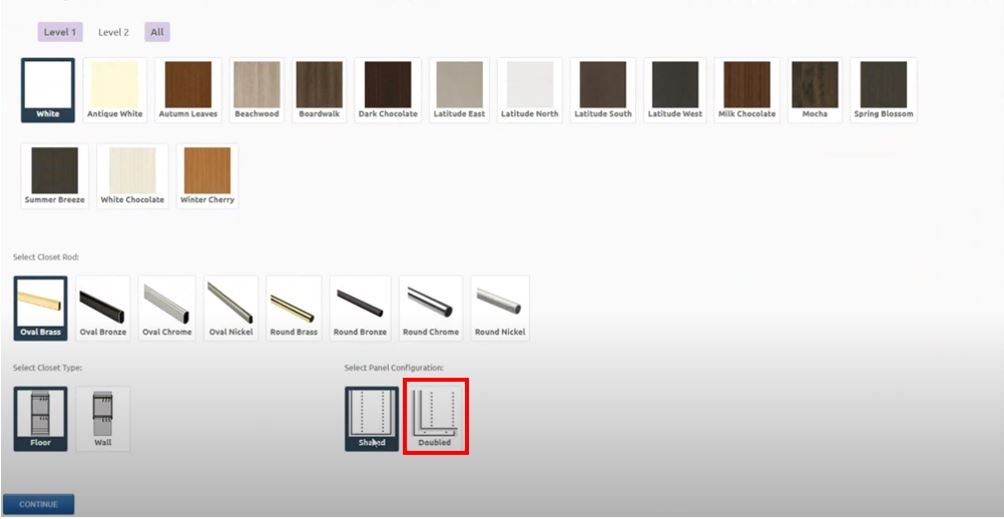
This tutorial will show how to use the double verticals (gables) option instead of shared verticals in ClosetPro. Typically, in a closet design a vertical is shared with the unit on the left and unit on the right. Usually, double verticals are needed for some jobs like garages, bookcases, office, kitchens, or anything where you want to use boxes. The default in ClosetPro is to have a shared vertical but you can use double verticals before you start a new design.
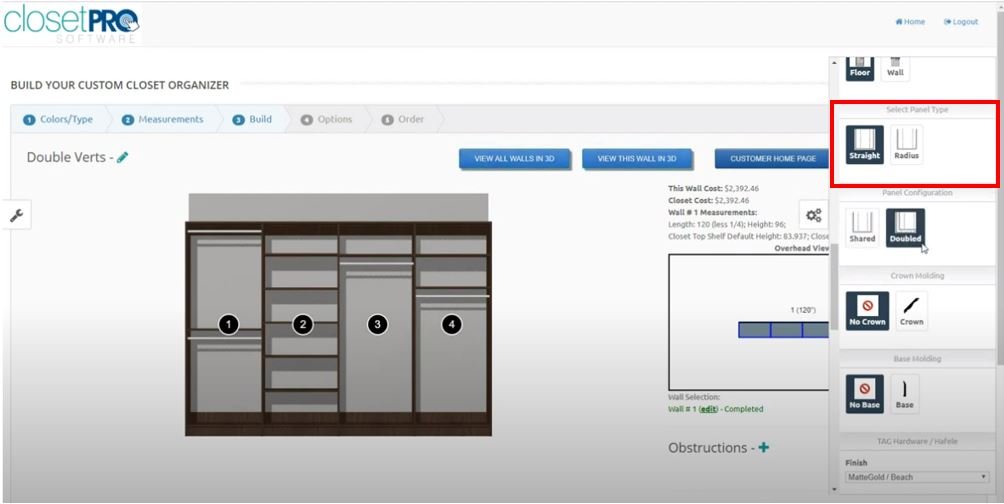
Once the double vertical has been selected, any units pulled into a design will automatically have two vertical panels. If you already started the design with shared vertical panels you can use the gear icon tool on the right side of the window and scroll down to the shared and double vertical options.
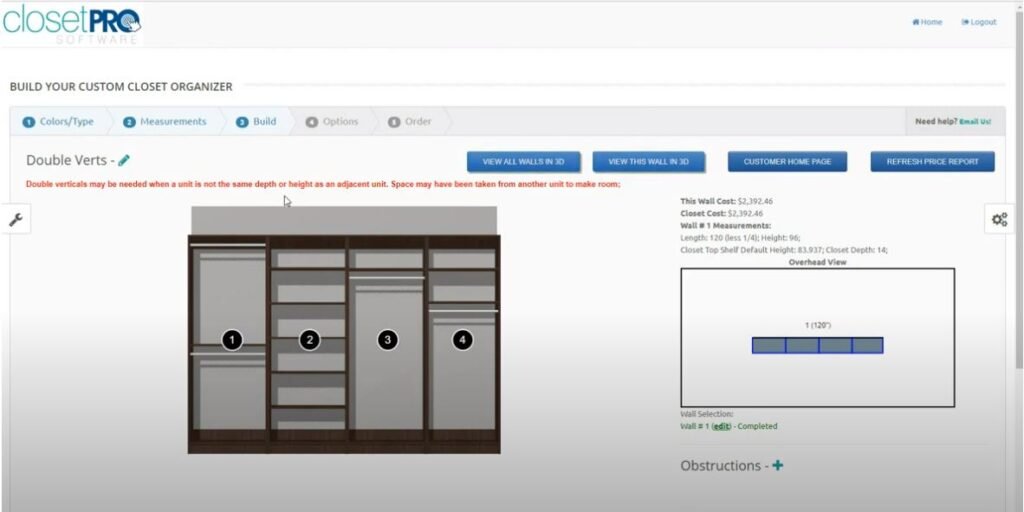
After selecting the double option the screen will refresh, and all the units will have double verticals. If the single vertical units already filled the whole wall you will get a warning stating space has been taken from one of the unit to allow for the extra verticals. In the 2D view it might be difficult to see that there are double verticals but when you go to 3D view and scowl in you can easily see there are now two vertical panels.
Note that in the same way they were added after a design was started you can use the gear icon menu to remove the double verticals by selecting shared verticals. However, because these double verticals are removed you will see some open space, designated by the “O,” which you can add back into one of the unit widths.
If you want to add double verticals on a single unit, this can also be done by editing the unit and selecting which side of the unit you want to add double verticals.
ClosetPro is great in providing flexibility when adding double verticals to your design.
This Knowledge Base, and our website, is published for educational purposes only. You may want to consider consulting a licensed professional about your individual installation needs.
See our “Disclosure and Disclaimer” article for more.
Course Categories
Quisque velit nisi, pretium ut lacinia in, elementum id enim.