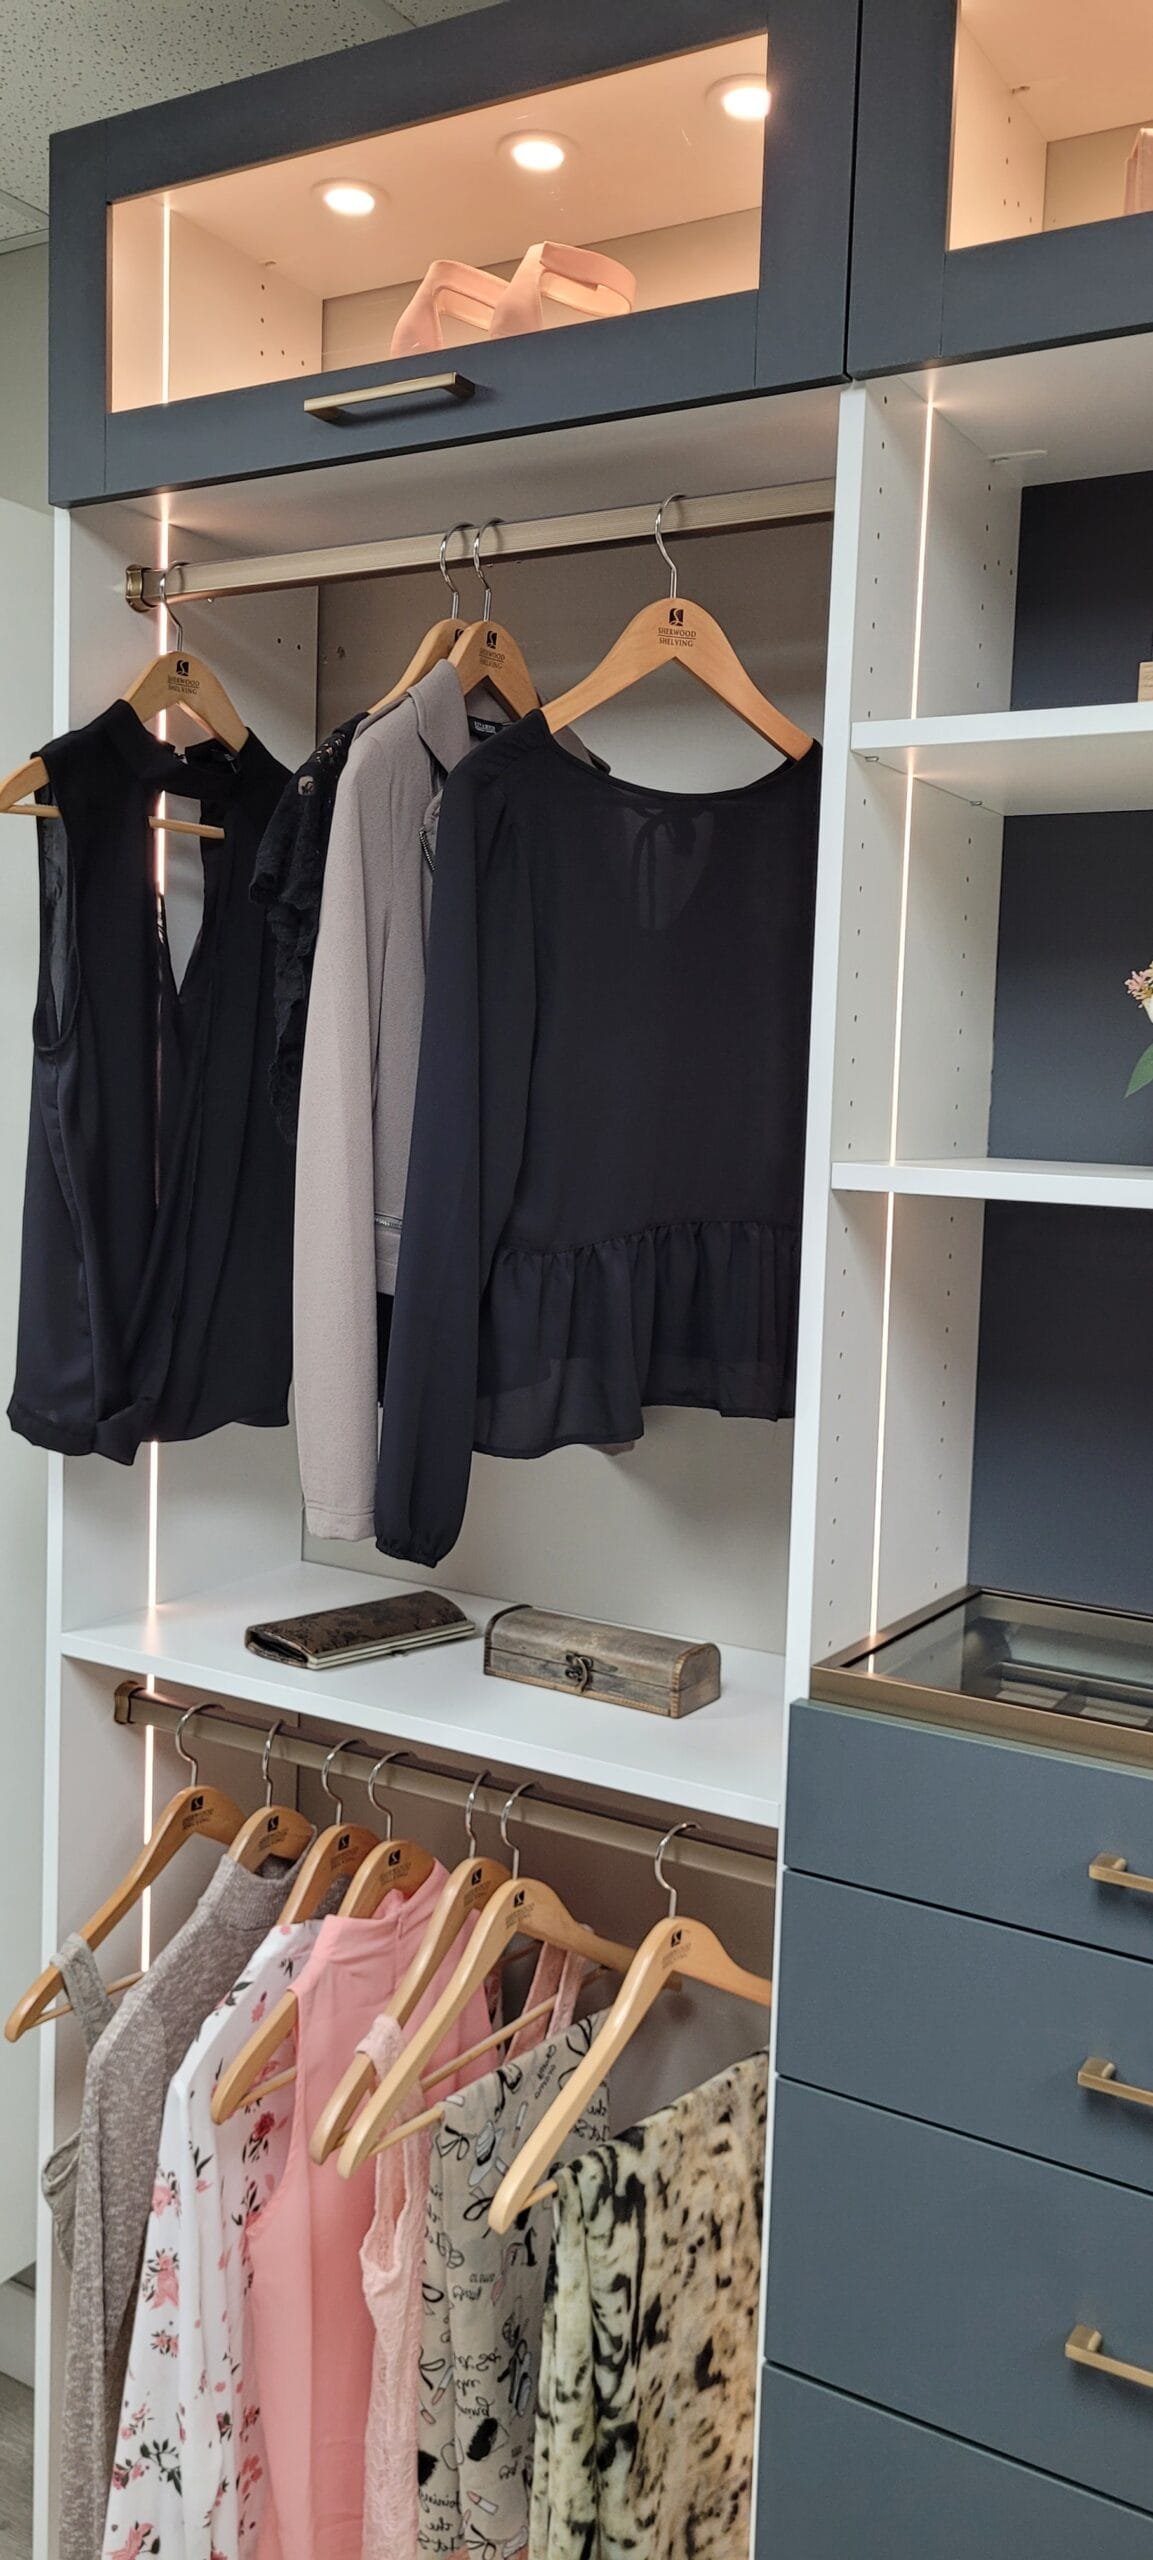
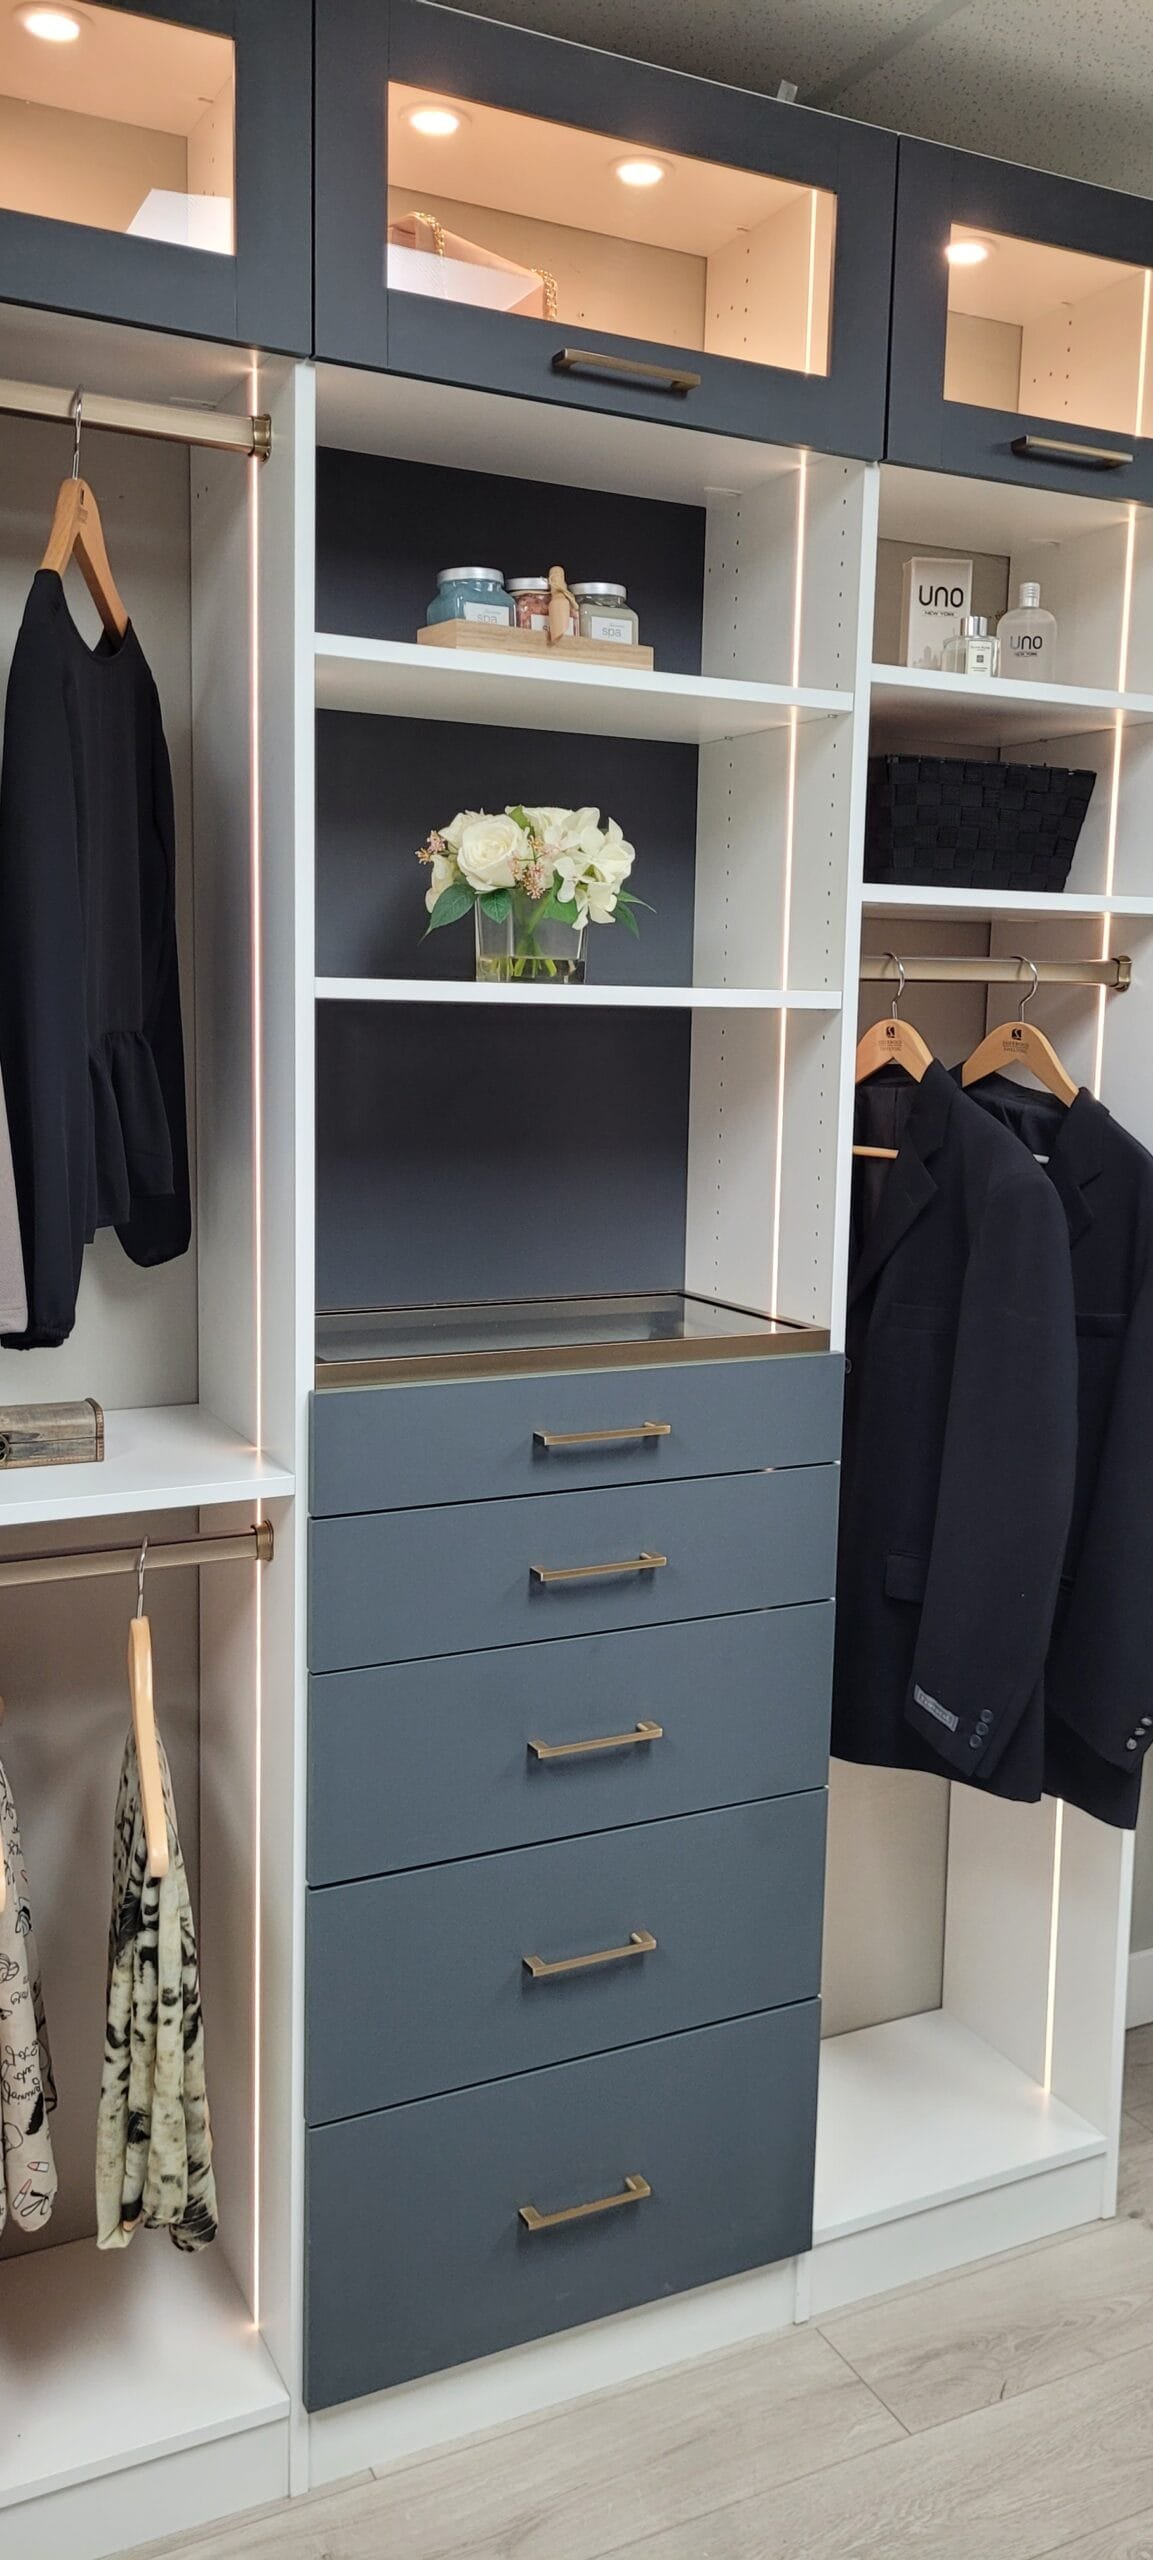
Sherwood Shelving offers integrated lighting solutions to enhance the functionality and aesthetics of your wood closet organizer systems. Our manufacturing process accommodates various lighting options, including strip lighting and puck lighting. Below, we outline the available options, ordering instructions, and basic installation guidelines to assist our dealer network.
In addition to improving visibility, our lighting options are engineered to bring out the rich textures and finishes of your wood organizer system. Properly placed lighting can highlight design elements, accentuate shelving, and elevate the overall feel of the space. Sherwood Shelving emphasizes a balanced combination of practicality and style, giving dealers the flexibility to incorporate lighting solutions that both brighten and beautify the final installation.
- Description: Flexible LED strips that fit into a machined dado groove on gables or along fixed shelves, providing even illumination.This flexible linear LED strip uses silicone-encapsulated technology to achieve uniform diffusion in a minimalist body design. Although it is 6 mm² (1/64 in²), it offers dotless lighting without extrusions or lenses. FLEXYLED AT6 has a high-seal 3M© adhesive base and can be installed in grooves or surfaces. It is available in a 3000mm – Warm White roll, and either end can be cut to a specific size as required. The lighting strip is pre-wired with power cables at both ends.
- Features: Flush installation allows adjustable shelves to move freely; available in various roll sizes with pre-attached low-voltage connectors.
- Description: Compact, circular LED lights recessed into fixed shelves for focused illumination.
- Features: Pre-drilled holes provided during manufacturing for seamless integration.
- In the Online Ordering (OLO) platform, navigate to Product > Gable – Special Drilling.
- Select Lighting Left and/or Lighting Right to specify where the dado groove should be machined (runs top to bottom on the gable).
- Purchase strip lighting under Hardware & Accessories > Accessories > Lighting. Only one roll size is available and must be cut to installation length. Careful pre-planning is required to minimize waste.
- Specify or select the correct fixed shelf (non-adjustable) when ordering.
- Order the strip lighting separately from the same Accessories section.
- When ordering fixed shelves with puck lighting, Sherwood Shelving will pre-drill the necessary holes.
- Indicate the desired number of puck lights per shelf during the design/order process.
Gable Installation:
- Measure the gable height to determine the required strip length.
- Cut the strip lighting to size (each roll can be cut in half to provide two lengths with connectors).
- Push the strip into the pre-machined dado groove until flush with the gable surface.
- Decide whether the connector exits at the top or bottom of the gable based on wire management needs.
Tip: Route low-voltage wires behind the unit or through adjacent panels to keep them hidden. - Connect the strip’s low-voltage plug to a Power Supply unit (sold separately).
Note: The Power Supply requires a 110V outlet. Consult an electrician if no outlet is nearby.
Fixed Shelf Installation:
- Attach the strip lighting to the underside of the fixed shelf.
- Plan wire routing:
- For top shelves (above eye level), run the wire out the top and along the back.
- For lower shelves, drill a hole from the shelf’s back edge to the light location using a jig and long drill bit. Feed the wire through the hole.
- Connect to a Power Supply within 6 ft (length of the connector lead wire) or purchase a 24V extension cable if needed.]
Fixed Shelf Installation:
- Insert puck lights into the pre-drilled holes on the shelf.
- Route the connector cable to the Power Supply:
- Plan the path in advance to conceal wires (e.g., behind the unit or through adjacent panels).
- For lower shelves, consider drilling a discreet hole to feed the wire to the back.
- Plug the connector into a Power Supply unit (ensure it’s within 6 ft or use an extension cable).
When planning a lighting layout for your closet organizer, it’s important to calculate the total power demand so you can choose the correct number of power supply drivers. Every installation is unique, but the key rule is:
⚠️ Do NOT exceed 96 watts per power supply driver.
Use the specifications below to calculate your total wattage and determine how many drivers you will need.
Important:
Although each driver has many ports, the total wattage, not the number of ports, is the limiting factor. Always ensure the combined wattage of all connected fixtures stays at or below 96 W.
List all the lights you plan to use.
Each strip = 30 W
Each puck = 4 W
Add the wattage together.
Check that the total does not exceed 96 W per driver.
If it does, you’ll need an additional power supply.
You want to power the following from one driver:
2 full strip lights → 2 × 30 W = 60 W
1 additional strip → +30 W = 90 W
1 puck light → +4 W = 94 W total
This configuration works because 94 W ≤ 96 W.
However, adding one more puck (another 4 W) would bring the total to 98 W, which exceeds the driver’s 96 W capacity. In that case, you must use an additional power supply.
| Fixture Type | Wattage | Notes |
|---|---|---|
| LED Strip (3 m) | 30 W | Each full strip |
| Puck Light | 4 W | Adjustable color temperature |
| Driver Max Load | 96 W | Same for dimmable & non-dimmable |
- Power Supply: One Power Supply can support multiple lights, depending on wattage. Check the specifications when ordering to ensure compatibility.
- Wire Management: Use cable clips or channels to secure and hide wires for a clean finish.
- Safety: Ensure all electrical connections comply with local codes. Recommend professional installation for 110V outlet additions.
- Customization: Contact our support team if you need non-standard lighting configurations or assistance with complex layouts.
- Dado Groove Positioning in Gables: The integrated dado groove for strip lighting is manufactured 120 mm from the front edge of each gable. When designing your layout, it is important to remember that this measurement remains consistent on every gable, including shared gables, regardless of the depth of the adjoining sections.
For example, consider a layout with a 14″ deep section on the left and a 16″ deep section on the right. The shared center gable must be 16″ deep to accommodate the deeper section. In this case:The left gable of the 14″ section will have its dado 120 mm from the front of the 14″ gable.
The left side of the shared 16″ middle gable will have its dado 120 mm from the front of the 16″ gable.
Although both dados are correctly positioned, the difference in section depths means the two lighting strips within the 14″ section will sit at different distances from the back wall. If a customer prefers the lighting to align perfectly front-to-back, the design would require doubling up the center gables—one at 14″ depth and one at 16″ depth—to maintain consistent dado placement for each section.