Drawer Box Construction – DTC Legacy Endura

How to Assemble a DTC Legacy Endura Drawer

This article provides a clear, step-by-step procedure for assembling a DTC Legacy Endura drawer box, along with practical tips to streamline your workflow and avoid common mistakes.


Before You Begin

Setting up an efficient workspace will make drawer assembly faster and more consistent.

Recommended Tools

  • #1 Robertson (square) bit
  • #2 Phillips bit
  • Drill/driver with an adjustable clutch
  • Utility knife
  • Clamp a board to the workbench (optional but helpful)

Workspace Setup

  • Keep a garbage can nearby for packaging waste.
  • Use an extra board or scrap piece clamped to your bench. You’ll use this as a front “stop” while assembling the drawer, which keeps everything tight and aligned.
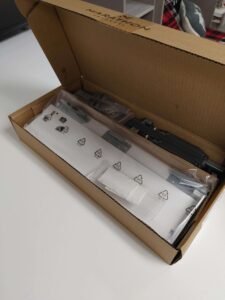
  • Have an empty box handy to collect all slides, brackets, and cover caps for installers.

Step 1: Unpack and Organize Components

  1. Open the box and remove:
    • Drawer sides
    • Cover caps and hardware
    • Slides
  2. Place all cover caps and the slides into a box for the installer.
  3. Keep the wooden drawer bottom, back, and front close. Inspect parts for blemishes, especially the drawer outer face.

Step 2: Assemble the Drawer Sides and Bottom

  1. Stand one drawer side vertically.
  2. Slide the drawer bottom into the groove.
  3. Hold the assembly using your arm to stabilize the side.
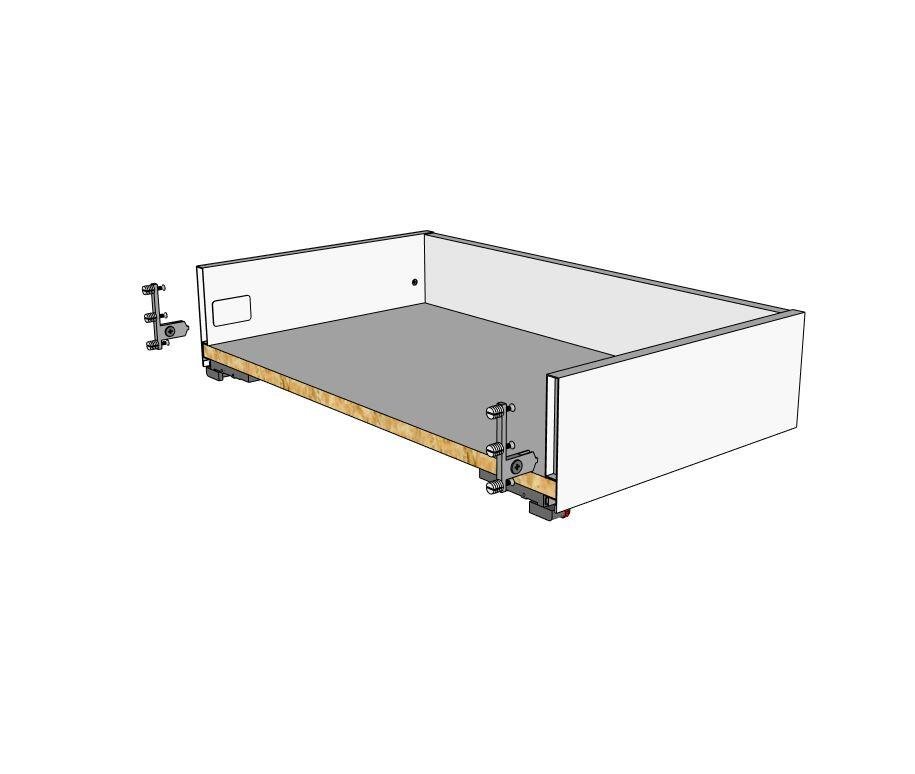
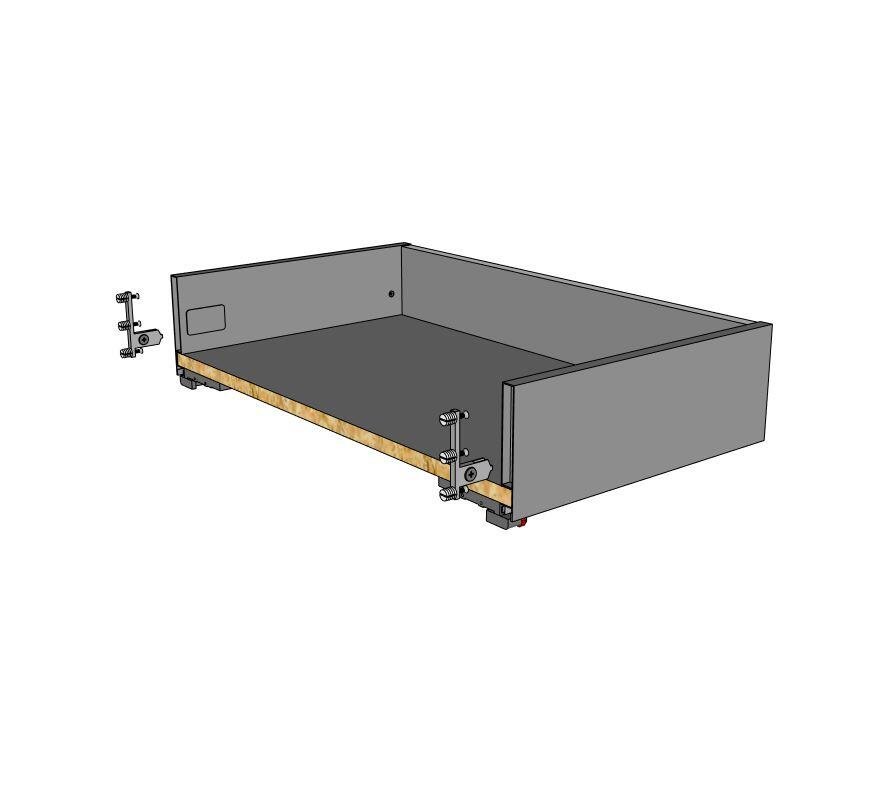
  4. Insert the second drawer side and slide it down onto the bottom panel.
  5. Lay the assembly upright.
  6. Push the front of the drawer bottom down against the workbench and the box side against the workbench stop board. This ensures the drawer bottom is tight to the drawer front and prevents gaps when the face is installed.

Step 3: Fasten the Drawer Bottom to the Sides

Use ½” pan-head screws (with a #1 Robertson bit):

  1. Apply inward pressure on the drawer bottom and side while driving each screw. This keeps the bottom fully seated in the groove.
  2. Angle the screw slightly toward the thicker side of the hole for best engagement.
  3. Install three screws per side (six total).
  4. After securing all screws, flip the drawer so the back is facing you.

Step 4: Install the Drawer Back

  1. Inspect the drawer back for flaws.
  2. Insert the back panel at a slight angle, ensuring it fits into the bottom groove.
  3. Make sure the back is flush with both drawer sides.
  4. Using the same screws, drill through the plastic guide area rather than the larger holes (to prevent going straight through).
  5. Drive one screw per side to secure the back.

Step 5: Install the Drawer Face Clips

The drawer face includes:

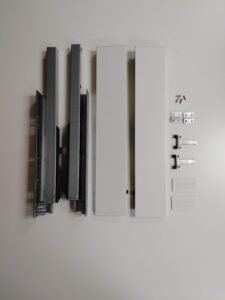
  • A small reference hole (this always goes at the bottom)
  • Two larger mounting holes (these go toward the top)
  1. Lay the drawer face flat with the reference hole toward you.
  2. Insert the two mounting clips.
    • Each clip has an up arrow molded into it—ensure the arrow points up.
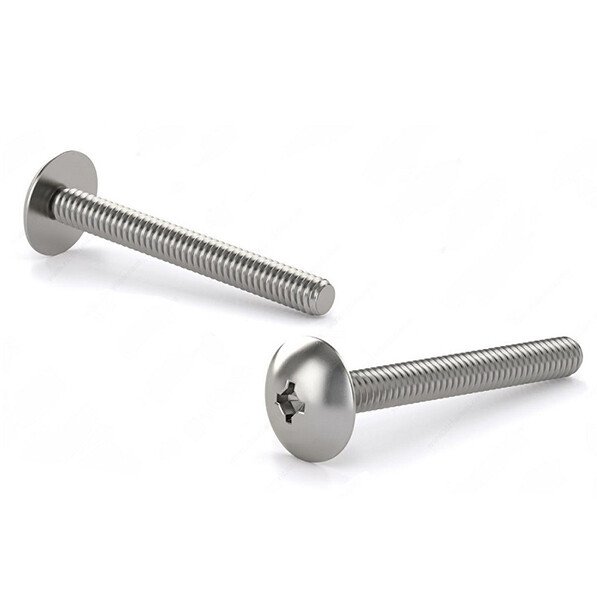
  3. Use a #2 Phillips bit and set your drill clutch low to avoid overtightening.
  4. Press firmly on the clips while driving the screws so the clips sit perfectly flush. If there is any gap, the drawer face will not sit tight against the sides.

Step 6: Attach the Face to the Drawer Box

  1. With the drawer box upright and the drawer bottom facing away from you, hold the face so the reference hole is at the bottom.
  2. Align the large clip tabs with the openings in the drawer sides.
  3. Push firmly until both clips snap into place. If they don’t click immediately, check alignment and try again.

Step 7: Install the Handle

  1. Remove stickers from the drawer face.
  2. Open the handle package—use the longer screws provided.
  3. Insert the screws from the inside of the drawer face.
  4. Hold the handle flat against the surface.
  5. Push the handle firmly into alignment to avoid cross-threading.
  6. Drive the screws in while maintaining pressure.

Final Steps

  • The drawer assembly is now complete.
  • Cover caps are normally installed during cabinet installation, not during shop assembly. This allows installers to make adjustments before finishing.

Summary

Following this method ensures:

  • Tight drawer bottoms with no gaps
  • Proper alignment of the drawer face
  • Secure and clean installation of clips and hardware
  • A faster, more efficient assembly workflow

Drawer Color Options

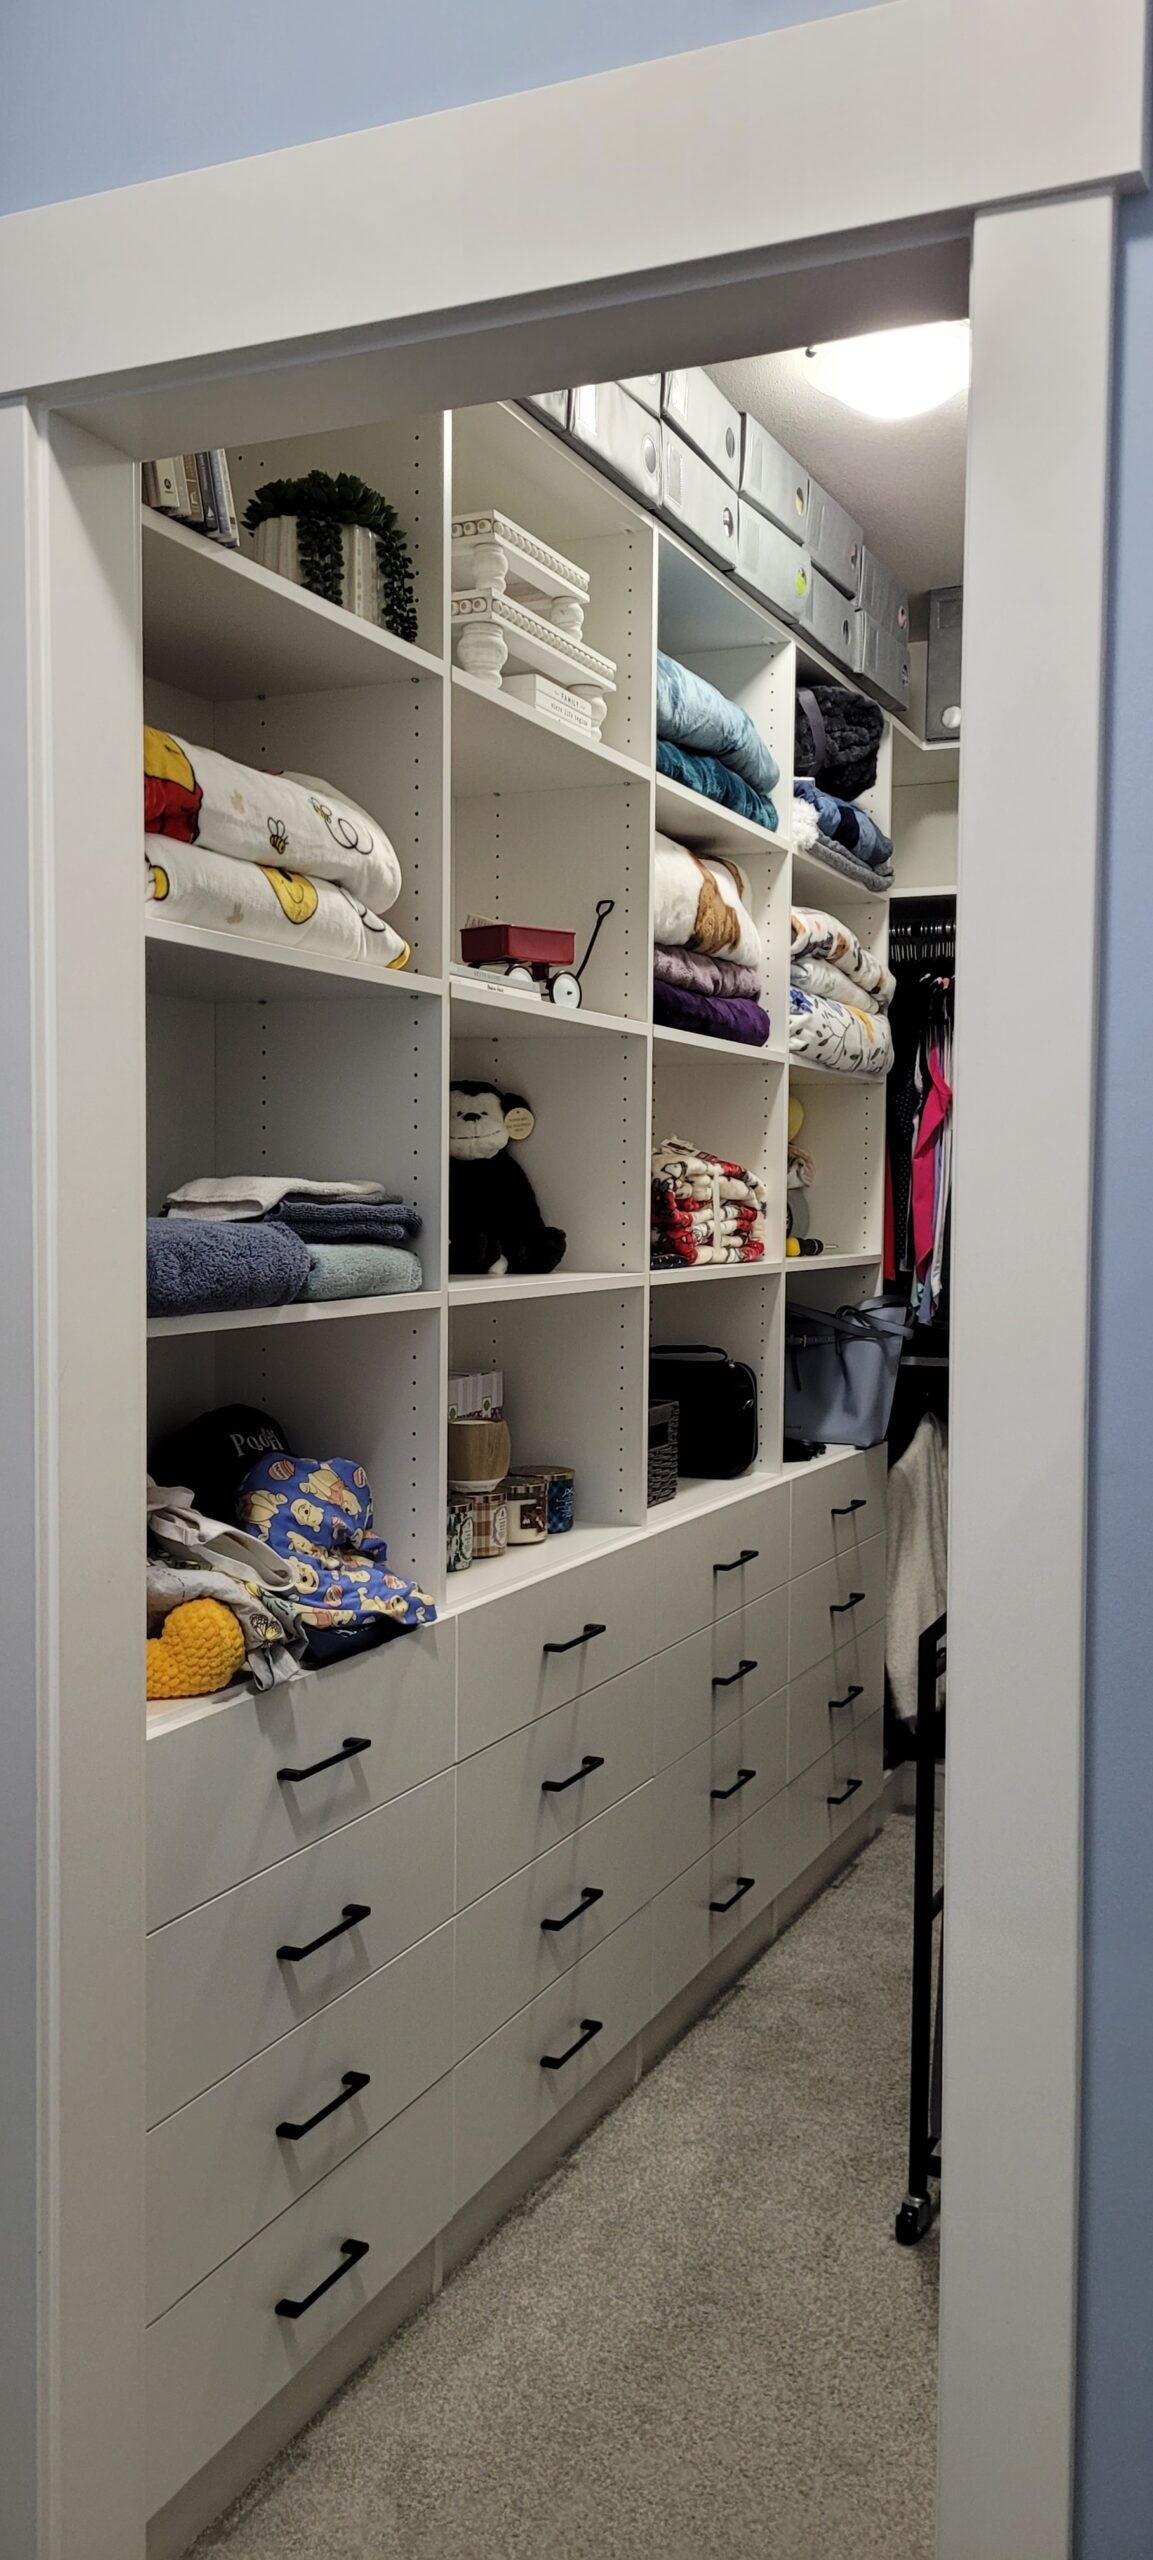
The Endura Drawer Box is a high-quality, cost effective drawer system. Available in two colors, Silk White and Matte Grey, Endura easily complements most color schemes and projects. Its 4 way adjustability makes installing a breeze.

Endure Box - White

Endura Box - Grey

Drawer Box Components

Wood Pieces

Below is a list of all the wood pieces to assemble a melamine drawer box and the associated code on each label:

  • Drawer Face (DF)
  • Box Back (DBB)
  • Box Bottom (DBBM)

The Back and Bottom are made out of 5/8″ materials.

Endura Kit Includes

Below is a list of all the pieces that come in the Endura kit to assemble the drawer box and:

  • Undermount Soft Close Slides
  • Metal Drawer Sides
  • Cover Caps
  •  Adapters for Drawer Face

Locking Clips to attach box to slides are built into the Metal Sides.

Other Hardware

Handles
We offer a wide variety of TAG Hardware handles and finishes.

Screws for Handles
Each drawer requires two and they come with the all TAG Handles.

Was this helpful?

Next Article

Drawer Sizes - Endura